Statement and Document Actions
The following sections provide guidance on how ConcordLink generates statements and how to view, upload, and manage documents on a customer account.
Statement generation
ConcordLink automatically generates statements on a recurring schedule, typically 15–21 days before the installment due date. When a statement is generated, a corresponding installment is created showing the amount due for that billing cycle.
- Current Due — the total of any unsatisfied installments whose due dates are today or in the future
- Past Due — the total of any unsatisfied installments with due dates in the past
Statement generation schedules are configured at the product level by Concord Operations users. External agents and admins cannot modify statement schedules — contact Concord support if a schedule change is needed.
Recent statement and installment behavior changes
- Do not receive statements accounts are skipped. Accounts flagged to not receive statements are now correctly excluded during statement generation, so a suppressed account no longer has a statement produced for it.
- Installment generation is separated from statement suppression. Generating installments and suppressing statements are now independent. Unfunded or paused accounts no longer receive retroactive bills as a side effect of statement handling. Installments are generated on their own terms.
- New obligations auto-derive their next statement date. A newly created obligation now automatically derives its next statement date, so you do not have to set it manually for statements to begin on schedule.
If a customer reports not receiving a statement, go to the Activities tab, check for generated statements, and verify the customer is set to receive them in the system. If the account is intentionally flagged not to receive statements, that suppression is expected behavior. If the customer wants to change delivery preferences, direct them to the Communication Preferences section.
Viewing customer statements and documents
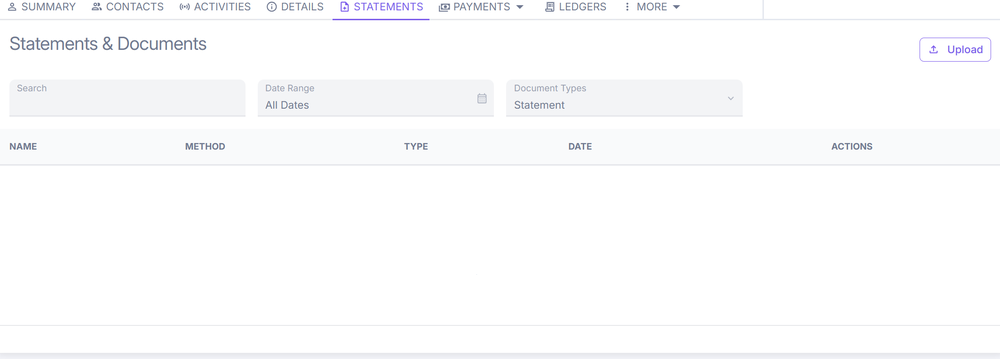
- Navigate to Statements on the customer's account.
- Use the Document Types dropdown to filter by document type — documents, statements, or letters — or select All Documents to view everything available.
- Select View to open a document.
- Download or print the statement or document as needed.
Uploading a document
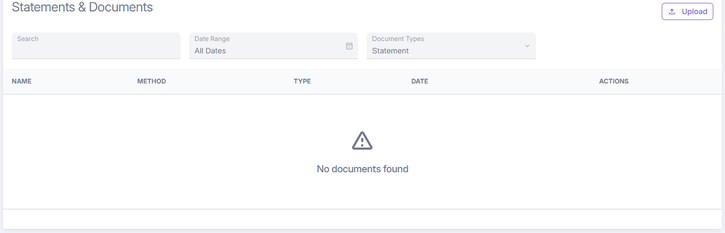
- Select the Upload button in the top-right corner of the Statements and Documents page.
- Choose the file to upload and save.
Next: Continue to Call Communication Tasks for managing contacts, logging calls, and communication preferences.